What Can I Do While I Wait for My DUC Approval?
Once you complete and sign your sections of the Data Use Certification (DUC), an authorized signing official (SO) at your institution and the Data Access Committee at the National Institute of Health (NIH) will need to review and sign off on your DUC.
This means there will be a waiting period between when you sign your DUC and when you have permission to download the NIH Brain Development Cohorts (NBDC) participant-level data. You will still be able to explore many exciting features in Lasso while you wait for full access!
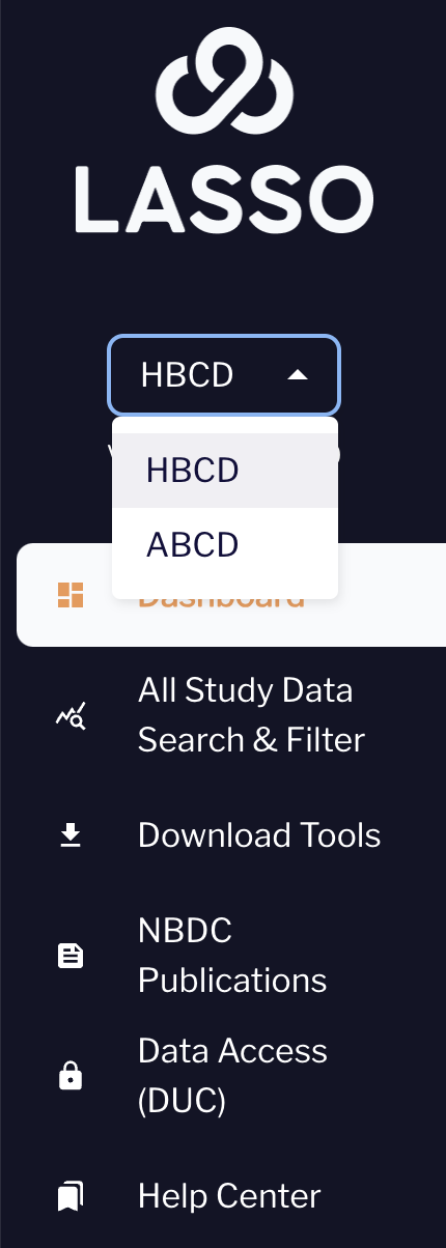
Select your study of interest to get started.
You will have the ability to switch between The Adolescent Brain Cognitive DevelopmentSM (ABCD) and HEALthy Brain and Child Development (HBCD) Study data all in one place; simply select your study of interest using the dropdown menu.
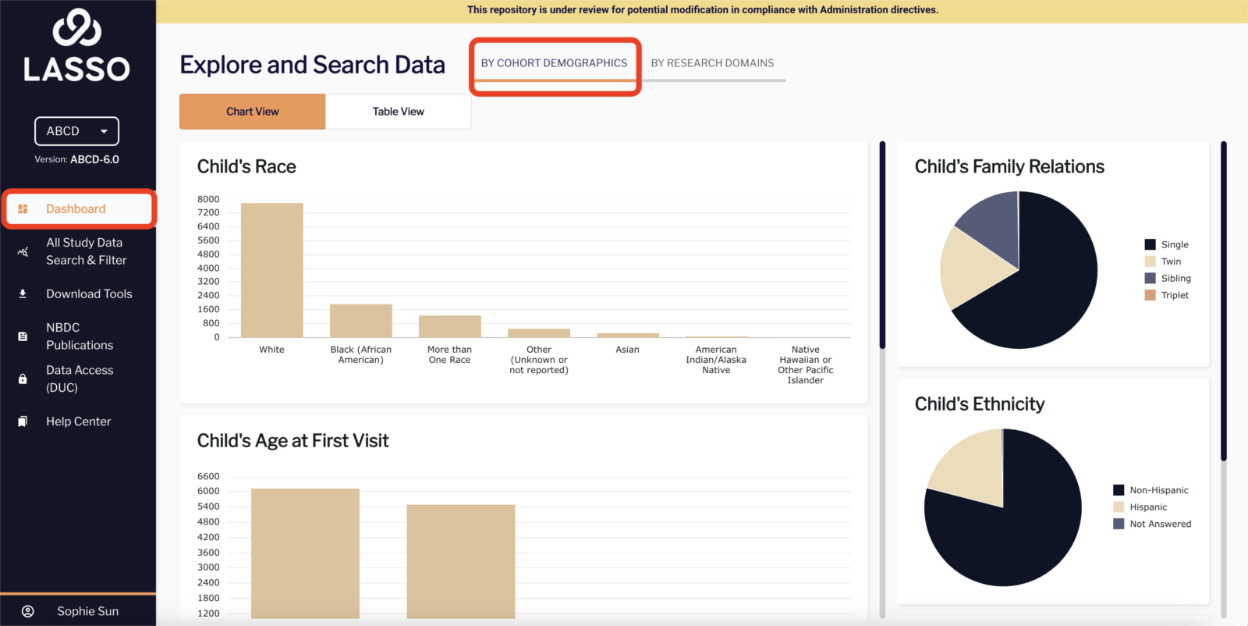
Explore the main dashboard to learn more about the number of participants available for each measure.
Navigate to the dashboard module in Lasso and view the cohort characteristics.
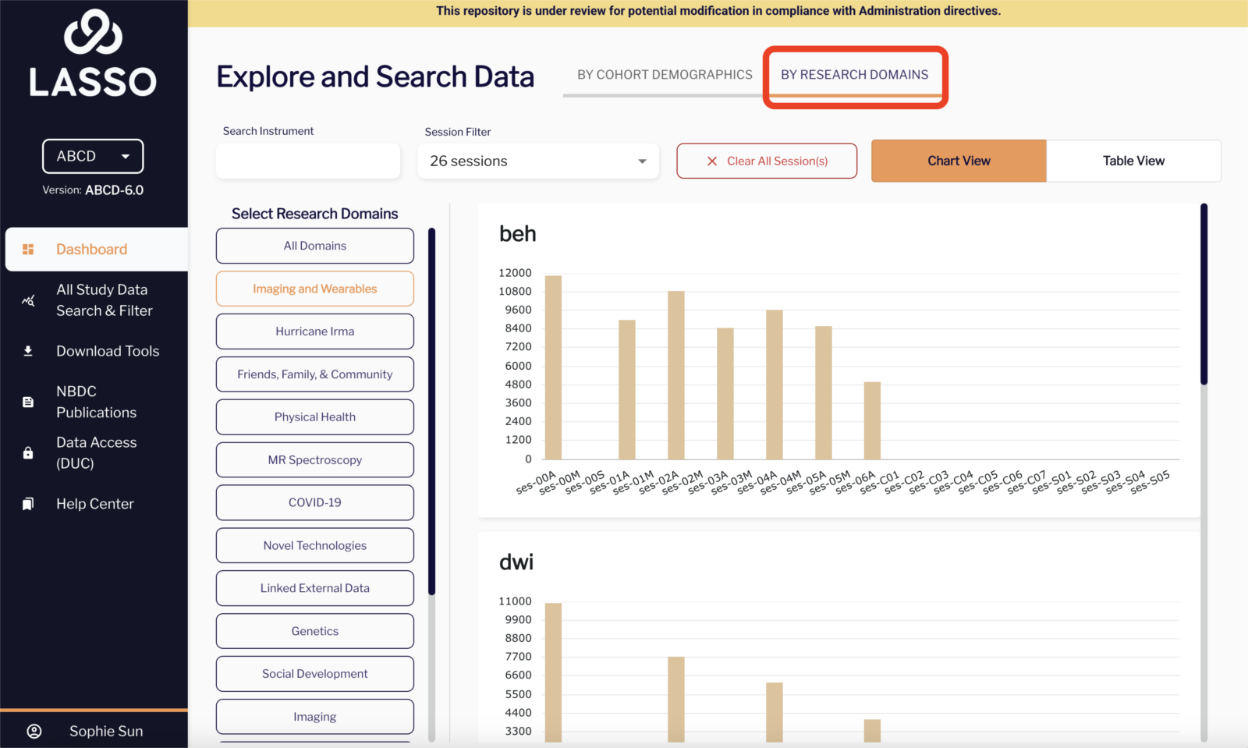
Or explore specific research domains by switching to the “BY RESEARCH DOMAINS” view at the top of the page.
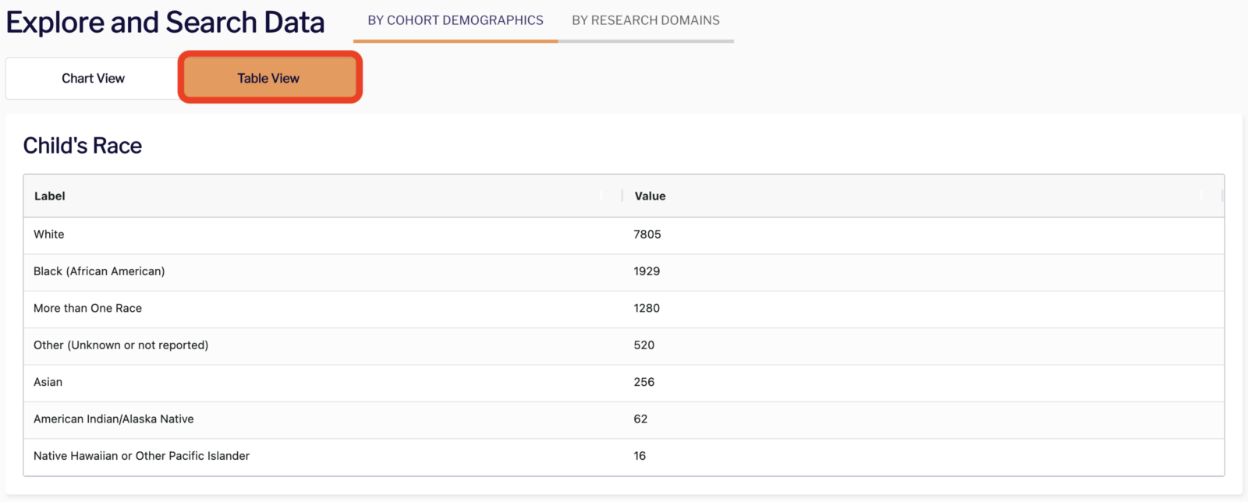
You can switch from Chart View to Table View to easily see the exact number of participants that fall into each category.
Query the tabular data
Use the Query Wizard or the Dictionary Query Tool to gain a more granular understanding of the number of participants and instruments available for your specific research questions. See detailed instructions on using these tools here.
Searching and Filtering for File Based Data
Navigate to the All Study Data Search & filter module and select All Study Data in the top right corner
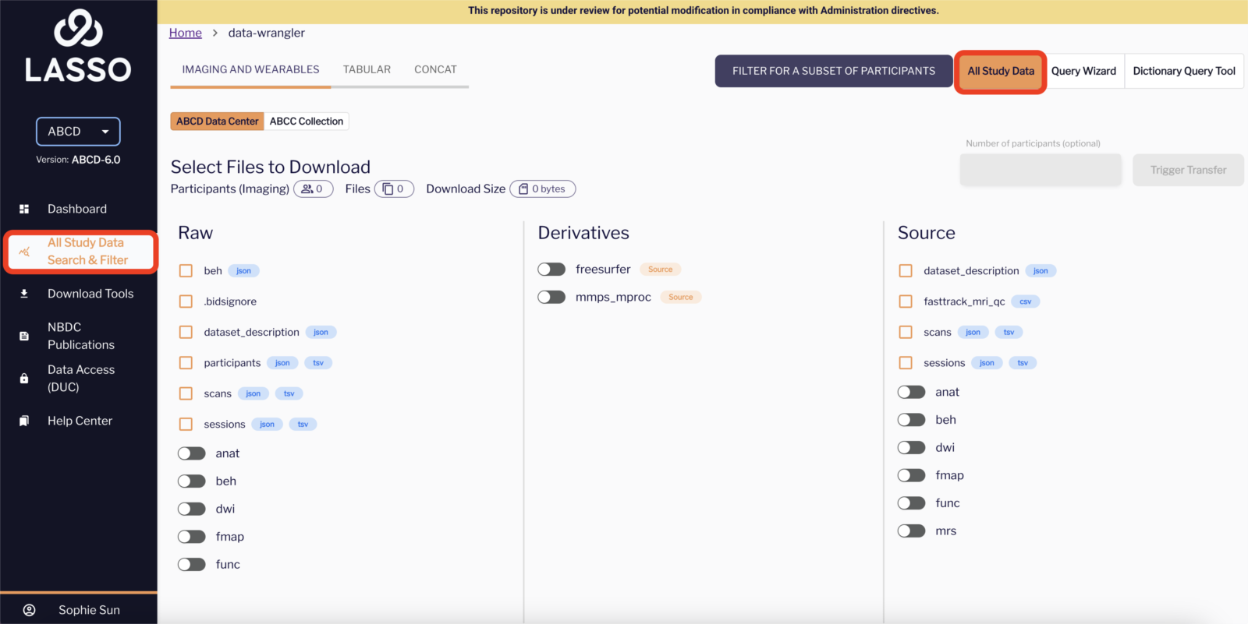
You will be able to view the raw, derivative, and source datasets from the same page.
After selecting all the modalities you wish to download, a summary displaying the number of participants, total files, and estimated file size for your selection will appear at the top of the screen.

NOTE: data will not be available for download until DUC approval, including completing the responsible data use training and passing the associated quiz. Your “Trigger Transfer” button will be unavailable in the meantime.
Setting up Globus for file-based data download
Large datasets—especially those containing high-resolution imaging files—are downloaded using an external desktop application called Globus Connect. This tool provides secure, high-speed data transfers between the Lasso platform and your local machine.
We recommend downloading Globus Connect ahead of time, so you're ready to retrieve file-based data (e.g., imaging or tabular data in BIDS format) as soon as your DUC is approved.
See detailed instructions on setting up Globus here.
